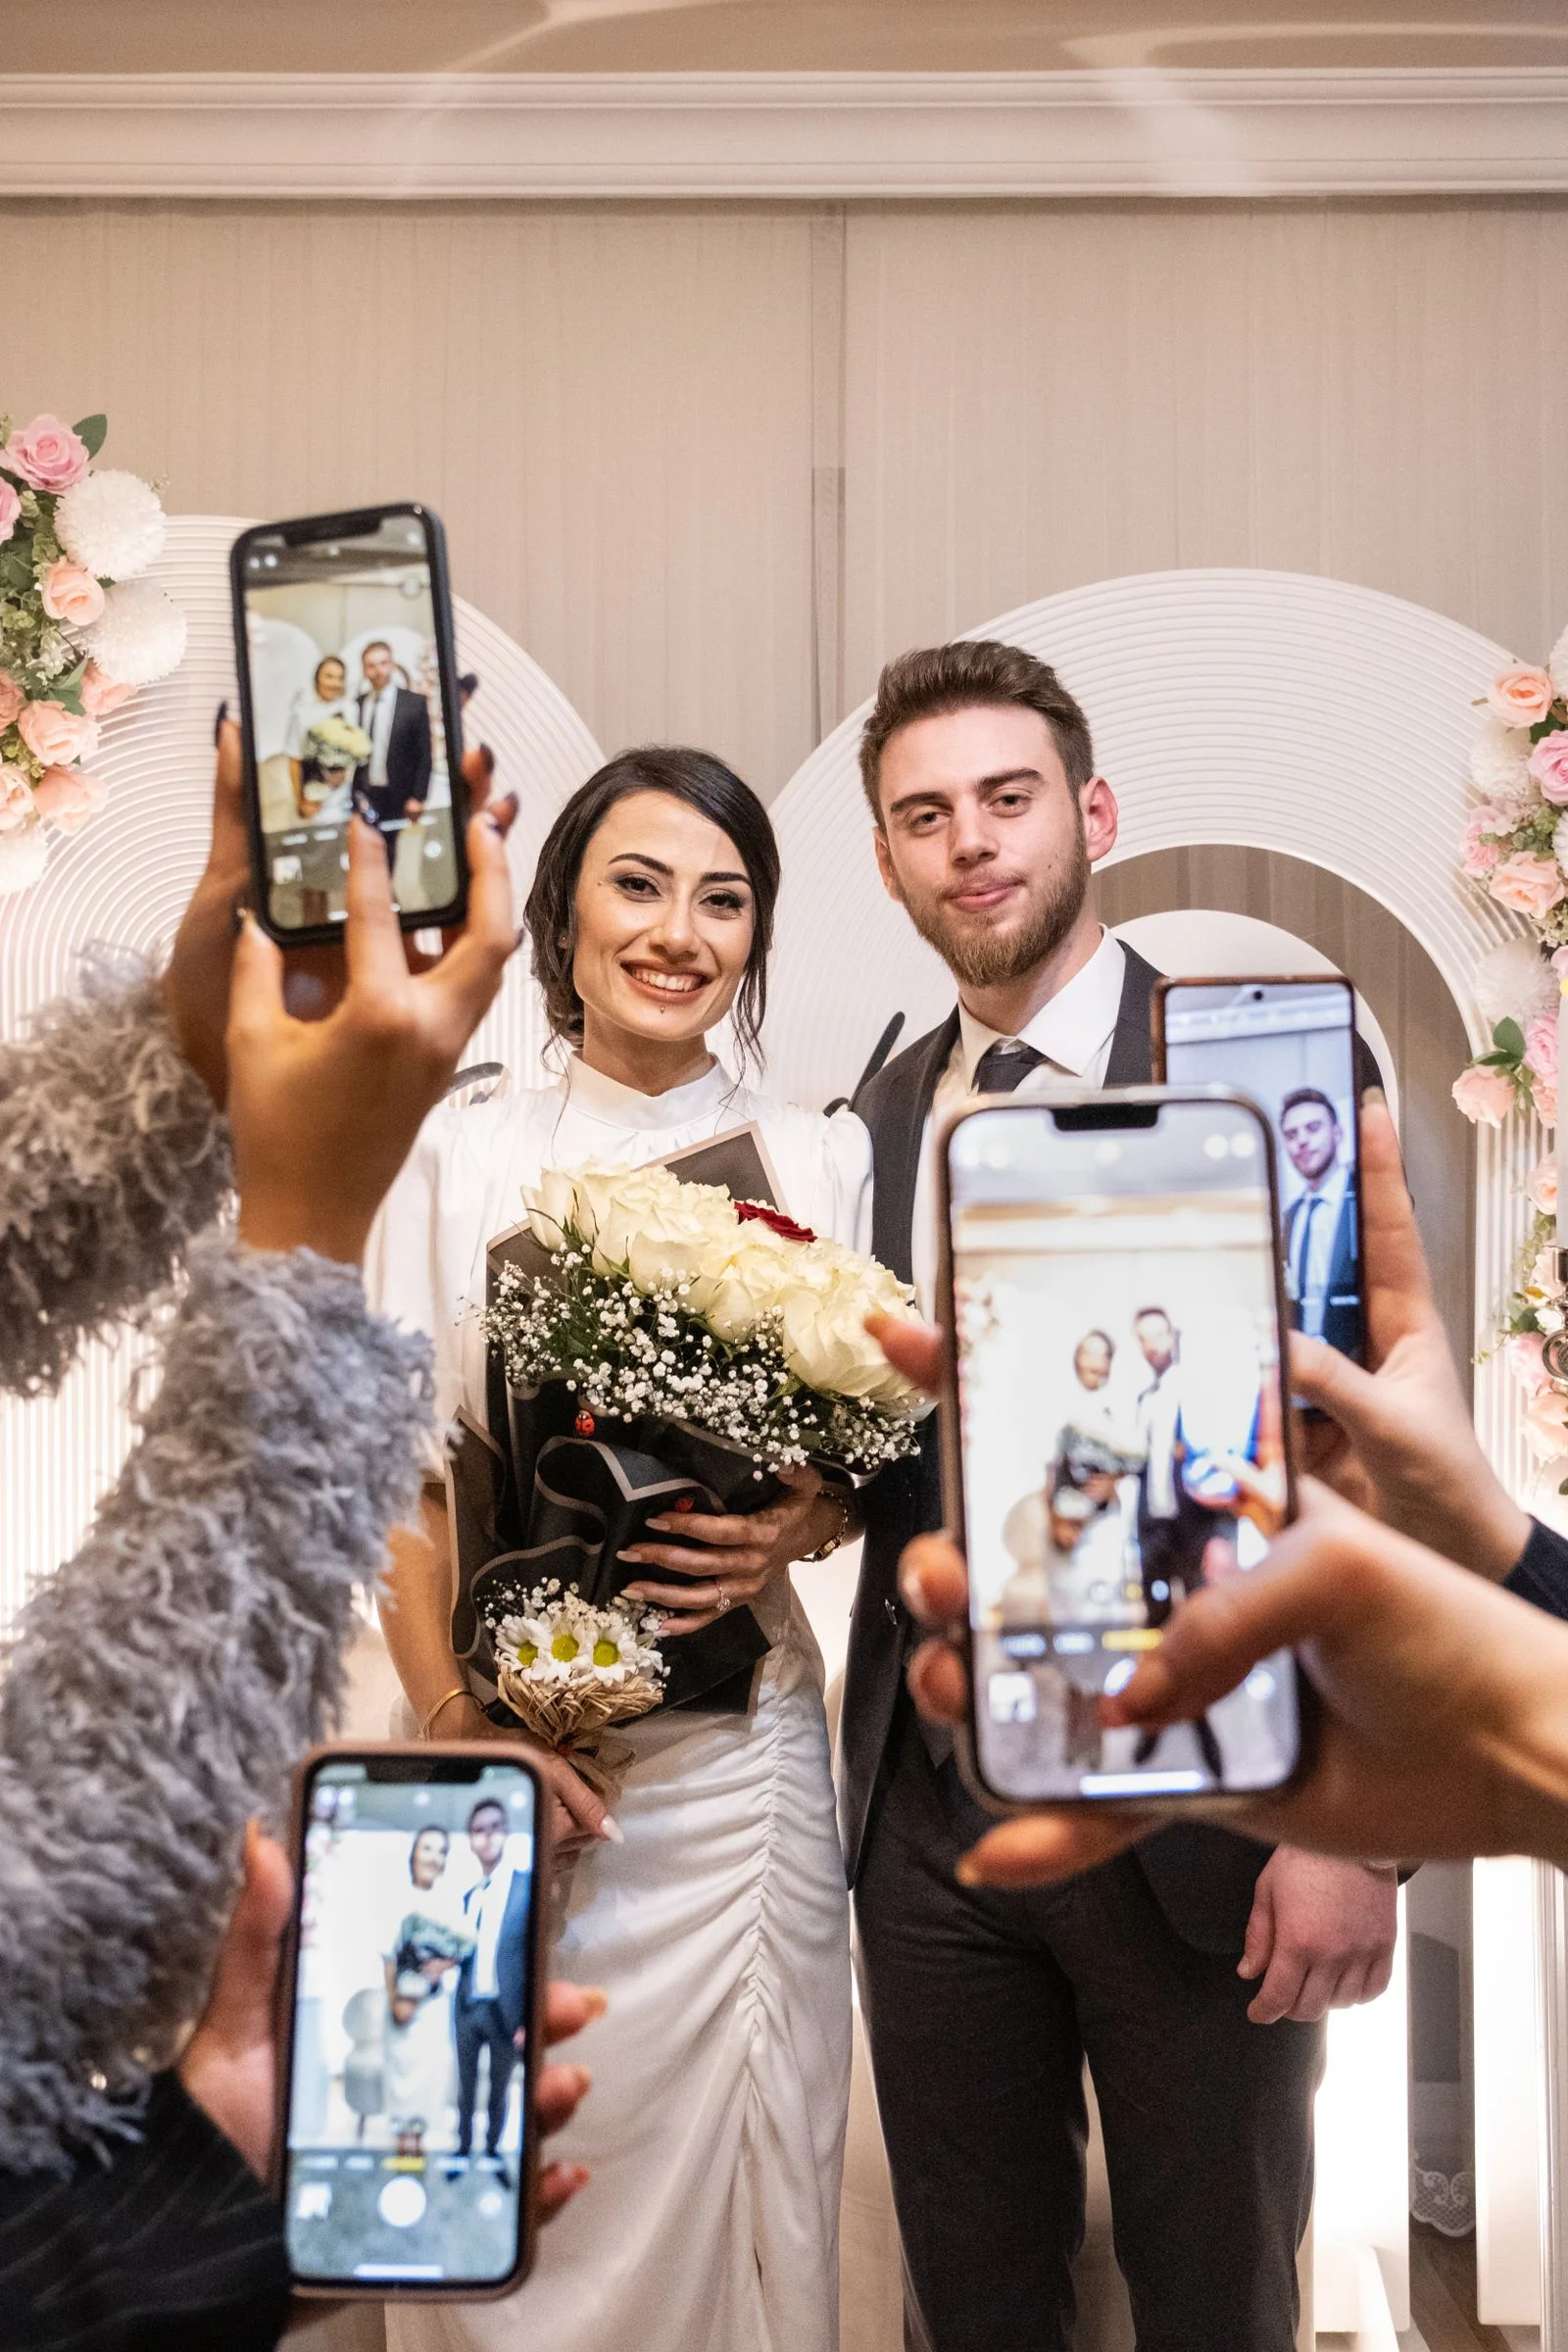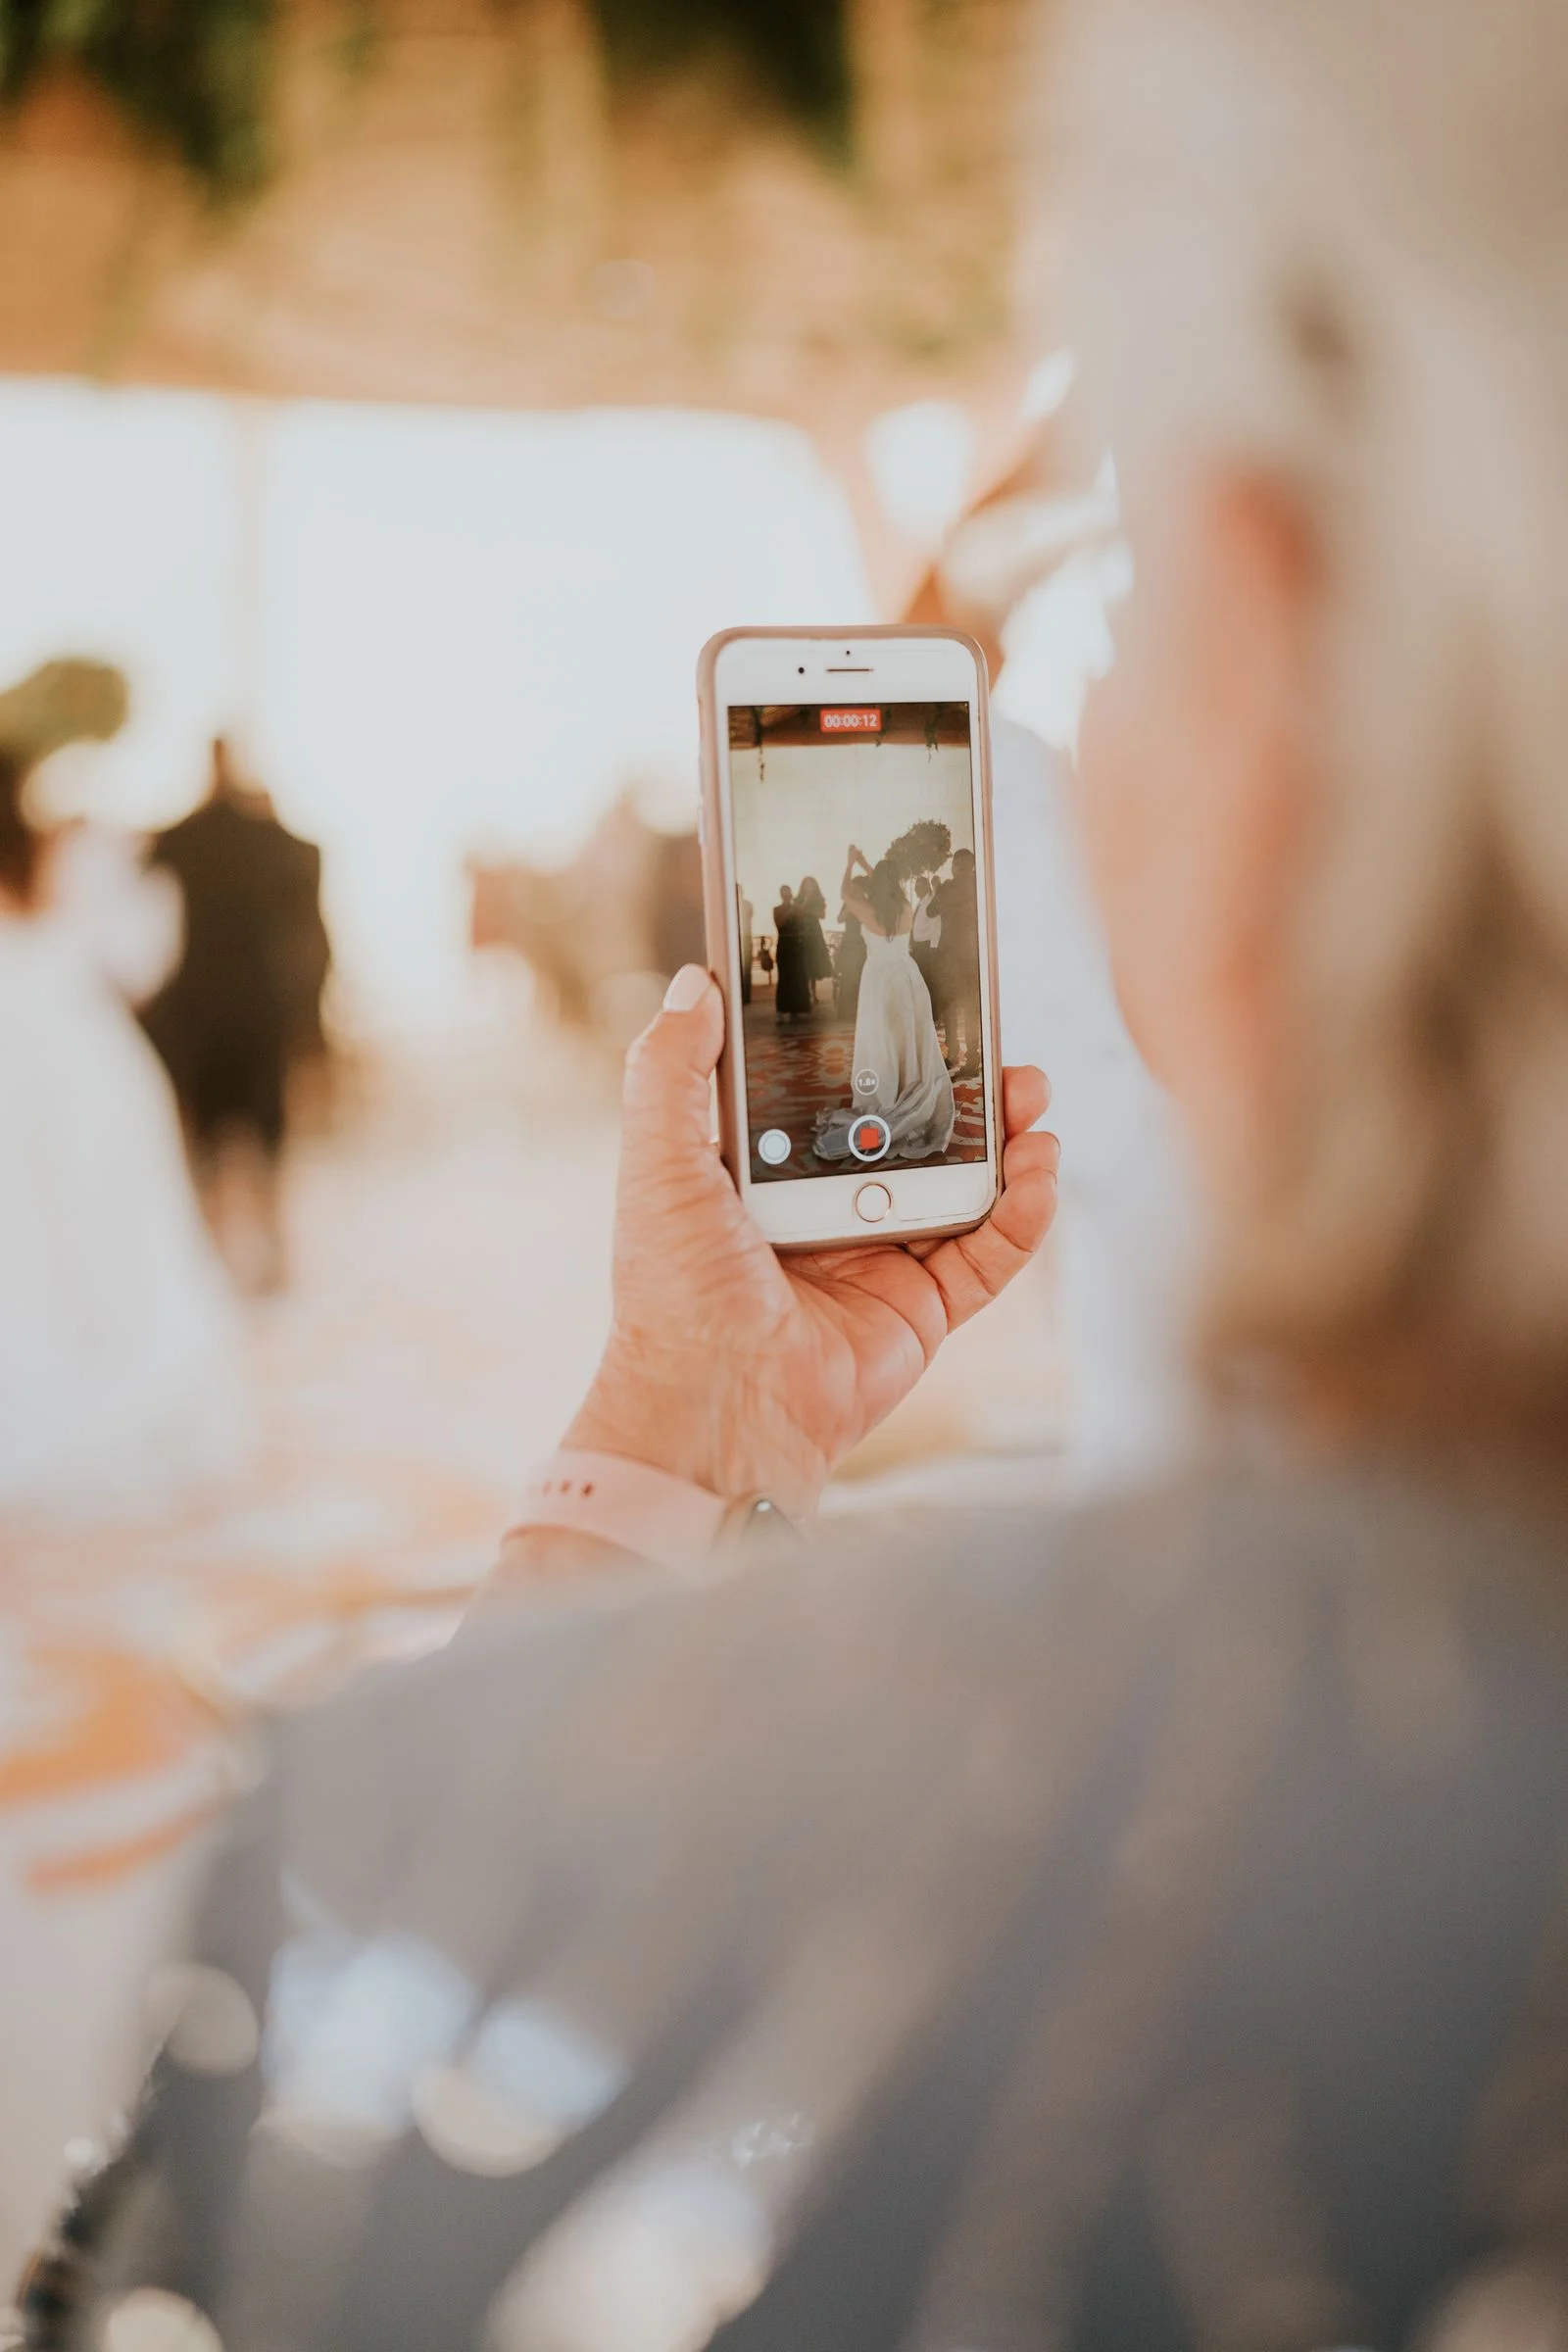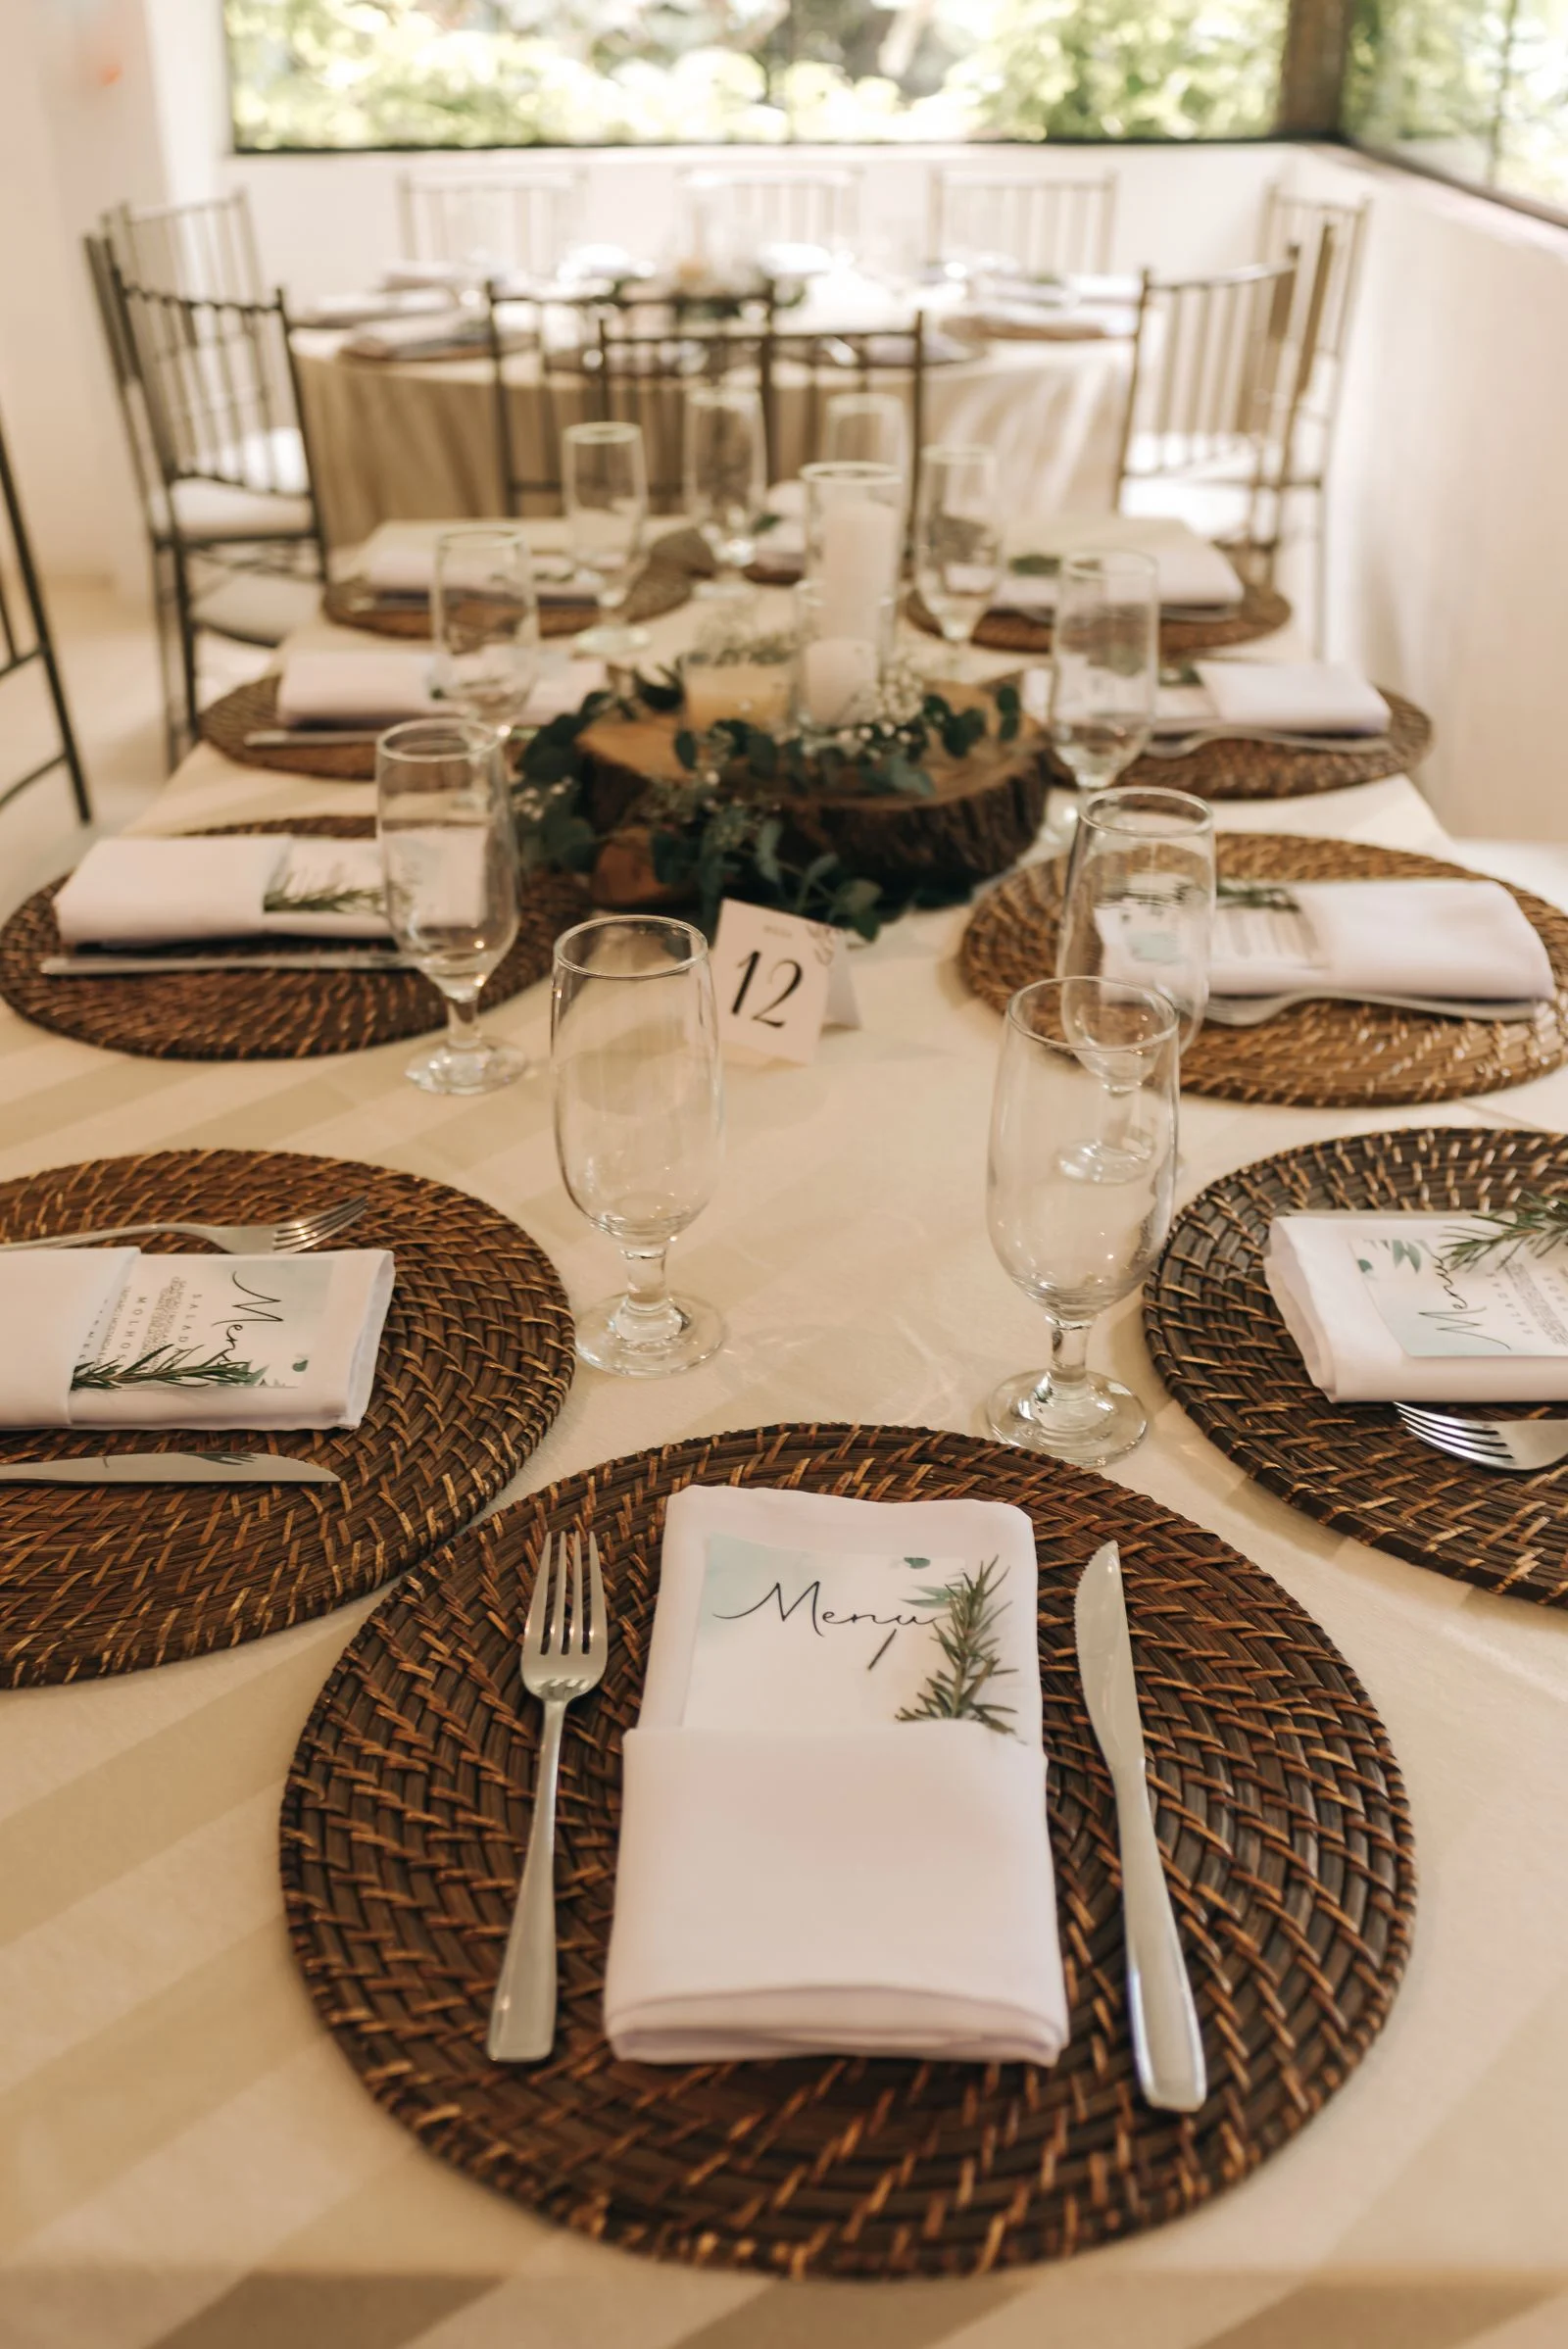
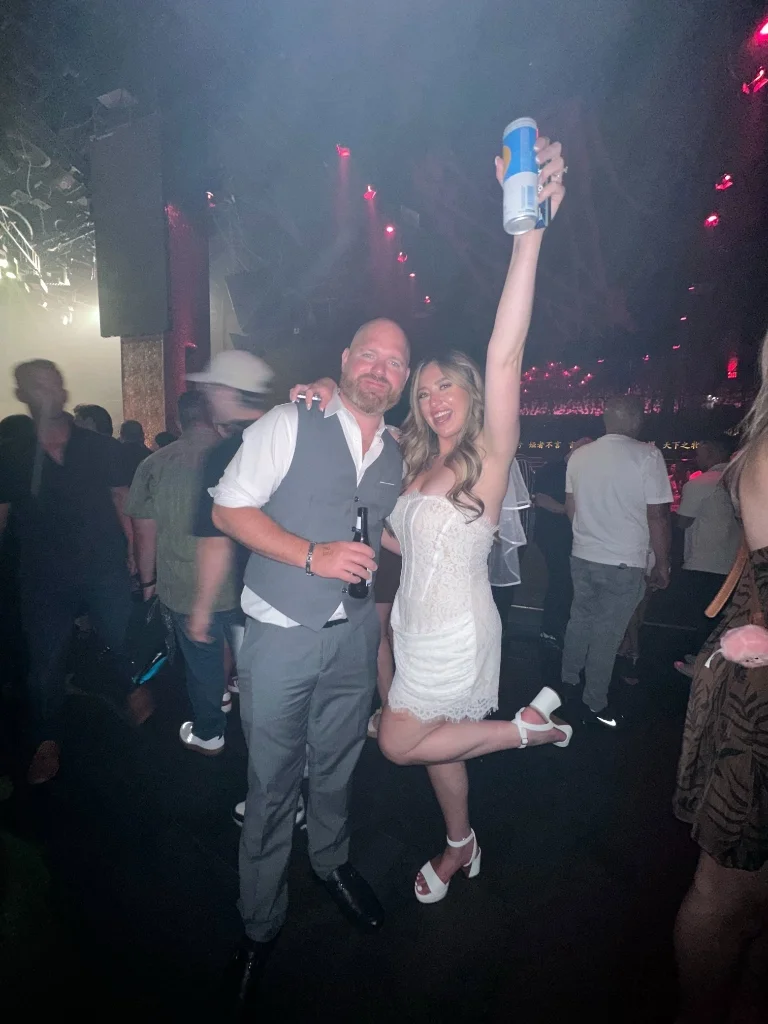
A traditional wedding album is created months after the wedding, filled strictly with the formal, posed shots curated by your professional photographer. A shared wedding photo album, by contrast, is a living, collaborative collection created by everyone who attended your celebration.
From the quiet morning prep moments captured by your bridesmaids to the hilarious late-night photobooth shots and dance floor videos, a collaborative album gathers every perspective into one shared home.
In this guide, you will learn how to make a shared wedding photo album from start to finish, manage privacy controls, organize media into sub-albums, and preserve original uncompressed files for a lifetime of memories.
What is a Shared Wedding Photo Album?
A shared wedding album is a centralized cloud gallery where multiple authorized contributors (your wedding guests, family members, and wedding party) can upload photos and videos directly from their own devices.
The ideal shared album provides: 1. Effortless Guest Contributions: No app downloads or account logins required to upload. 2. Dual-Sided Experience: Guests can either just upload, or browse the collective celebration as photos arrive in real time. 3. Host Control: The couple can moderate uploads, hide unwanted photos, or lock the album with an optional 4-digit PIN. 4. Permanent High-Resolution Backups: All files are stored in full quality with instant 1-click bulk ZIP download capability.
Step 1: Choose Your Album Architecture
Before setting up your album, determine which platform architecture suits your needs: * Dedicated Browser QR Platform (Recommended): Services like WedShare allow anyone with the QR code or link to upload directly from their mobile browser without installing an app or registering an account. * Generic Cloud Folders: Google Drive or Dropbox can work for small groups, but require sign-ins or hit strict storage limits. * Apple Shared Albums: Ideal only if 100% of your guests use iPhones and Macs.
For most weddings with 50+ guests of varying technical comfort levels, a dedicated browser-based QR platform offers the highest participation rate.
Step 2: Configure Privacy and Host Moderation
Privacy is paramount for wedding celebrations. When creating your shared album, consider these three settings:
- Unlisted vs. Password-Protected: Ensure your wedding album is not indexed by public search engines like Google. Platforms like WedShare generate private, unguessable event slugs (e.g.,
wedshare.online/e/sarah-david) and allow optional 4-digit security PINs. - Instant Display vs. Moderation Queue: Decide whether uploaded photos appear in the gallery immediately, or whether they land in a private host moderation queue where you can approve them before other guests can view them.
- Guest Download Permissions: You may want guests to enjoy browsing the photos, but keep high-resolution original file downloads exclusive to the couple.
Step 3: Organize by Sub-Albums and Events
Create your private shared wedding album today
Collect up to 10,000 photos and videos from all your guests with sub-albums, live slideshow, and audio toasts.
A wedding is rarely just one event. A multi-day celebration typically includes: * The Welcome Drinks / Rehearsal Dinner * Getting Ready & First Look * The Ceremony * Cocktail Hour & Reception * The Morning-After Brunch
With WedShare's Standard and Pro packages, couples can configure up to 6 custom Sub-Albums under a single wedding QR code. Guests can select which event they are uploading to (e.g. "Ceremony" vs "Reception Party"), keeping thousands of photos beautifully structured from day one.
Step 4: Generate Scannable Access for Guests
Once your album is created, connect it to your physical wedding environment: 1. Generate your high-resolution QR code using our free Wedding QR Code Designer. 2. Incorporate the QR code into your stationery: 5x7" table cards on every reception table, signs near the bar, and a welcome sign. 3. Include the short link in your digital wedding communications (wedding website, email reminders, and thank-you text messages).
Step 5: Exporting and Long-Term Archiving
A shared album should never be your only copy. As soon as your wedding festivities conclude and the final uploads have arrived: 1. Log into your host dashboard. 2. Click Download Full Archive (ZIP) to save every original image, 4K video, and audio voice toast directly to your computer or external hard drive. 3. Back up the archive to secondary cold storage (such as an external SSD or permanent cloud drive).
Estimate how many photos your guests will capture using our How Many Wedding Photos Calculator.

Collect Every Photo from Your Celebration
Give your guests a beautiful, private space to contribute their favorite memories.
Frequently Asked Questions
How do I invite guests to a shared wedding album?
You can print a scannable QR code on your reception table cards and signage, and share the direct link via your wedding website or post-wedding thank-you messages.
Can guests view each other's photos in the shared album?
Yes, if you enable guest gallery viewing. Alternatively, you can enable Film Roll Mode where photos stay hidden until a grand reveal, or use upload-only mode.
How long does a shared wedding album stay active?
WedShare albums remain active and accessible for 6 months to 2 full years depending on your chosen plan, with permanent ZIP downloads available at any time.
Can guests upload videos to a shared album?
Yes. Full-resolution videos can be uploaded alongside photos without length limits on supported plans.