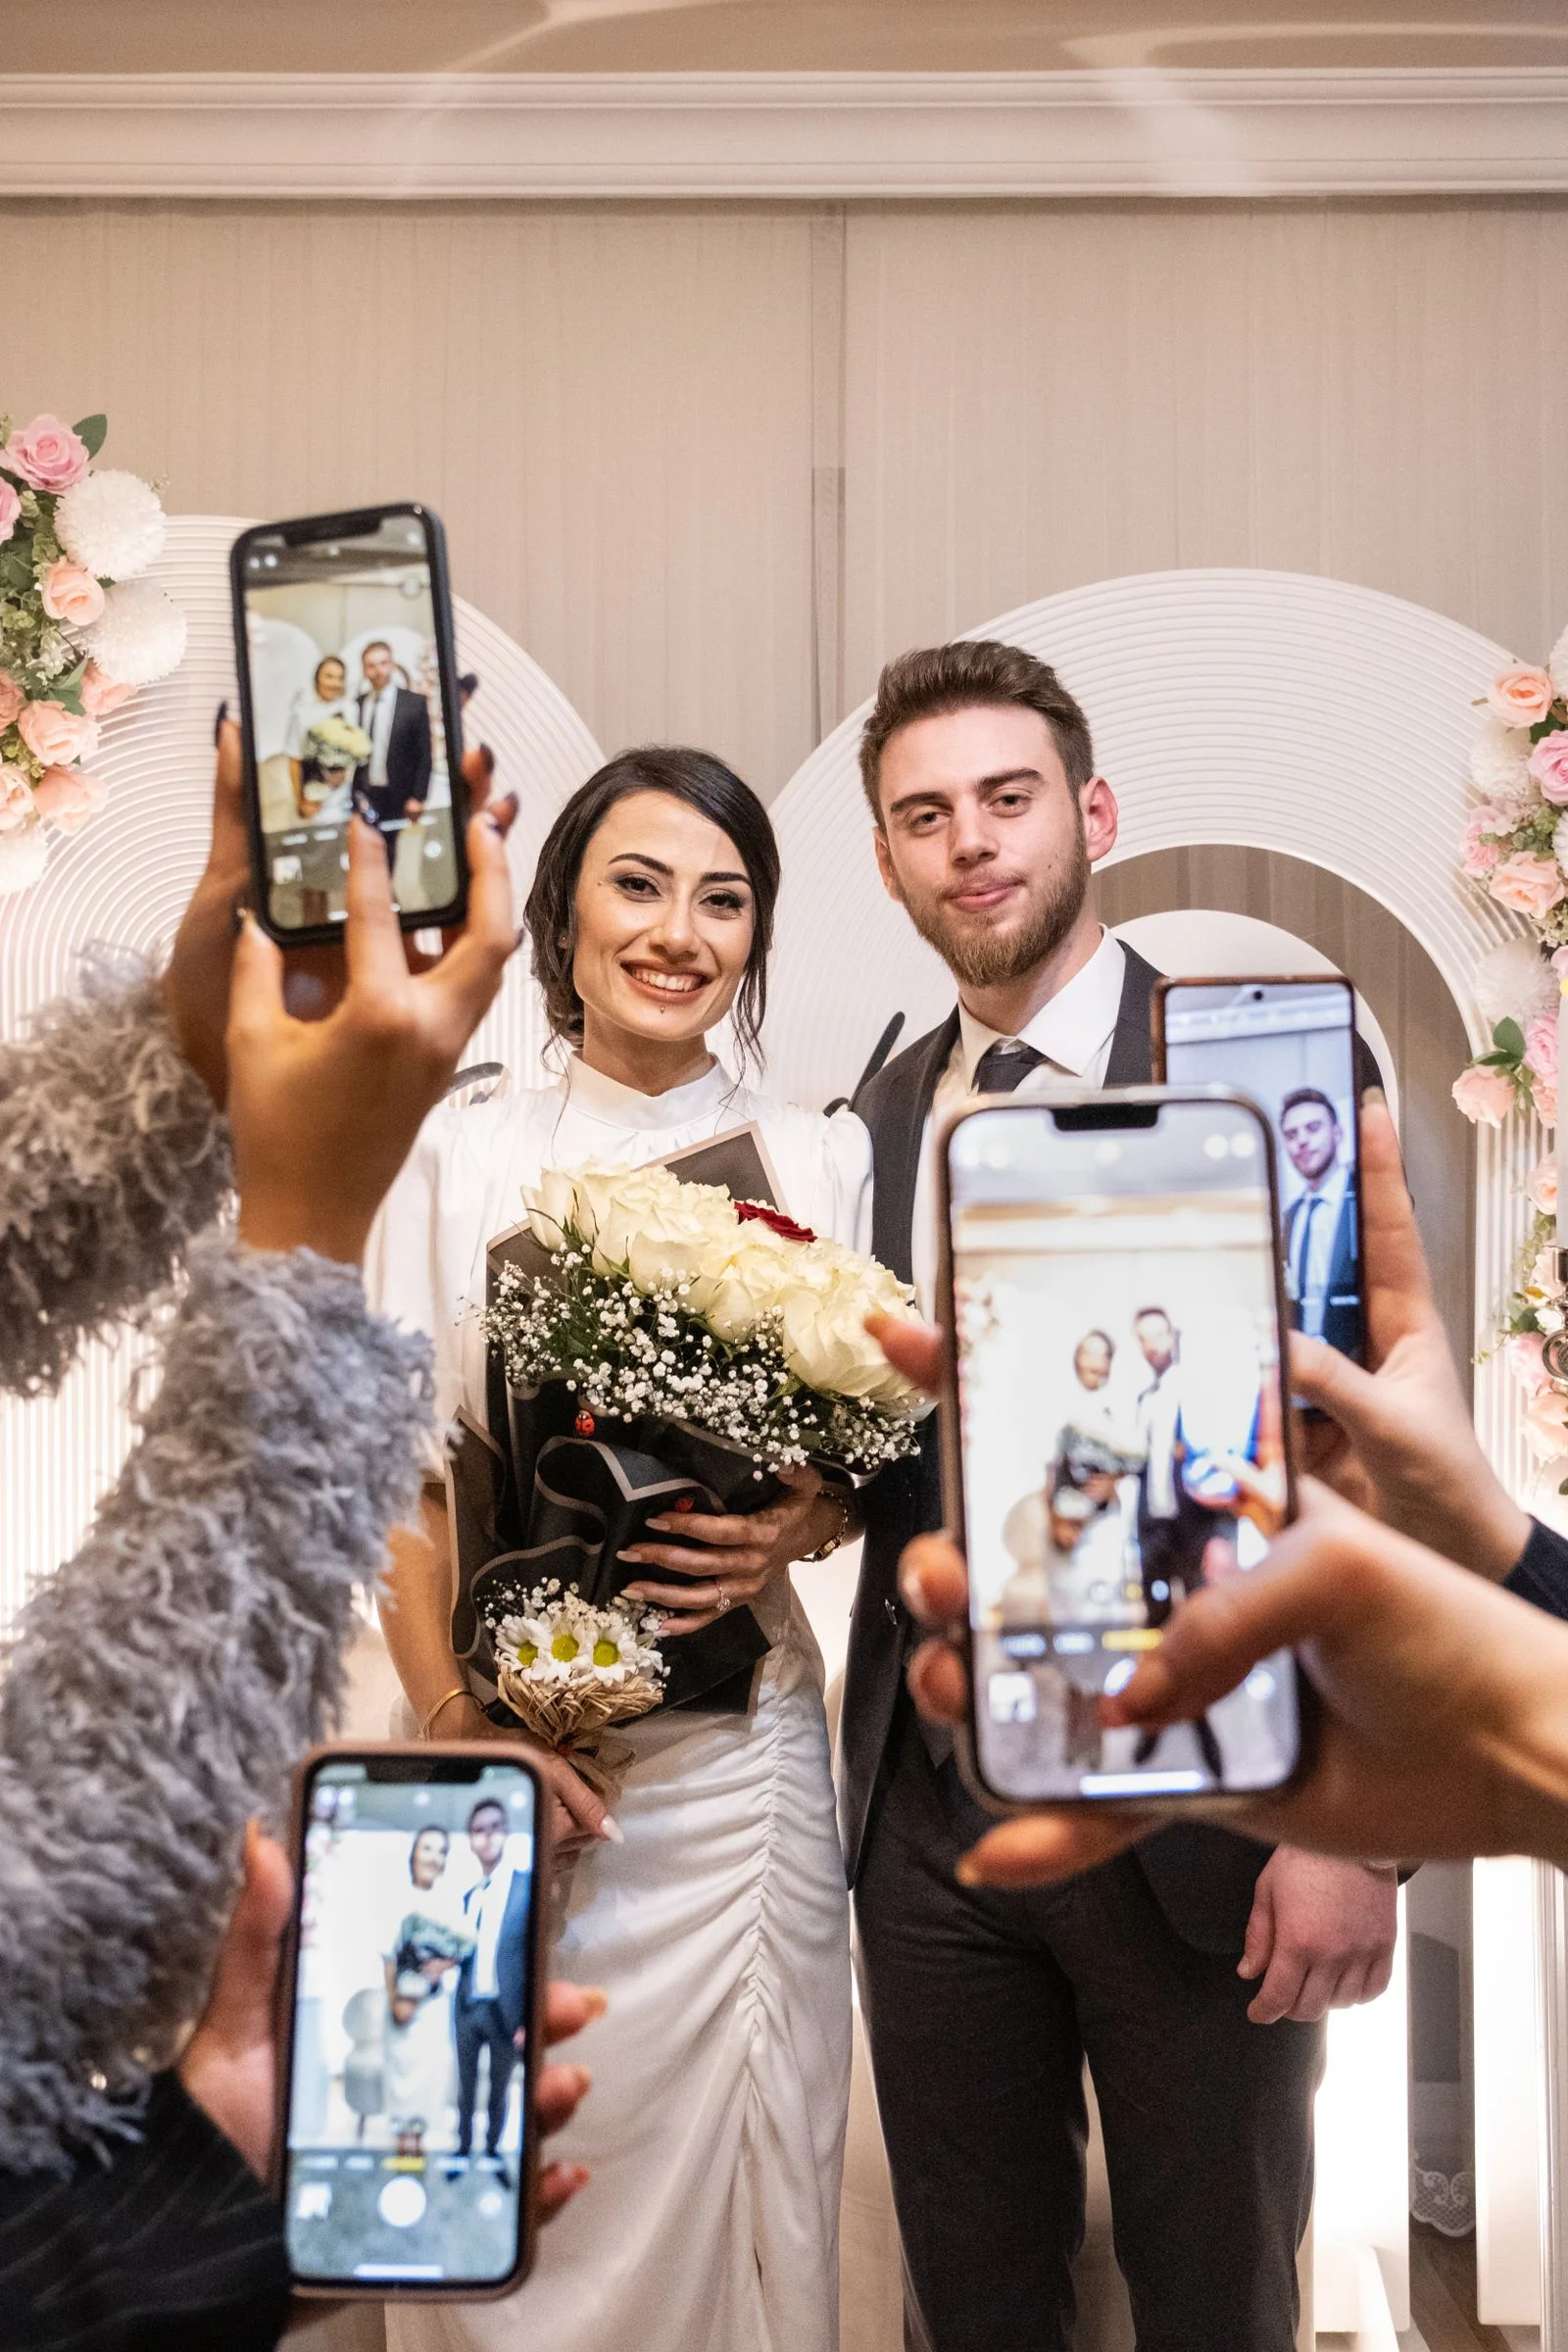
When a couple signs your wedding planning contract and pays their retainer, they experience a surge of excitement—followed quickly by buyer's remorse and anxiety if days go by in silence.
How you handle the first fourteen days of your client relationship sets the emotional tone for the entire planning journey.
A disorganized onboarding process leads to endless midnight text messages, duplicated vendor inquiries, confusion over budget ownership, and frustrated couples. Conversely, a polished, systematic onboarding workflow establishes you as an authoritative, empathetic expert who has everything under control.
Whether you are a full-service wedding designer, a partial planner, or a month-of coordinator, here is the professional onboarding playbook to delight every couple.
The High Cost of Poor Client Onboarding
Wedding planners who treat onboarding as an afterthought frequently suffer from three business-crippling issues:
- Scope Creep: Without clear documentation of contracted duties during onboarding, couples assume "Month-Of Coordination" includes 50 hours of vendor sourcing.
- Boundary Erosion: If you do not establish office hours and preferred communication channels on Day 1, clients will text your personal iPhone at 11:30 PM on a Sunday asking about table runners.
- Logistical Redundancies: Hunting through fragmented email threads for Pinterest boards, contracts, and vendor contact info drains hours of billable time.
Stage 1: Contract Signing & Retainer Processing
Before any design advice or vendor recommendations are given, legal and financial foundations must be finalized:
- [ ] Countersigned Contract: Ensure both partners have signed the service agreement through your client management software (HoneyBook, Dubsado, or Aisle Planner).
- [ ] Retainer Cleared: Verify initial non-refundable booking retainer has deposited into your business checking account.
- [ ] Calendar Reservation: Lock the wedding date, rehearsal date, and backup weather dates into your master business calendar.
- [ ] Contract Copy Emailed: Send a finalized PDF copy of the executed contract to the couple for their records.
Stage 2: The Curated Welcome Packet Delivery
Within 24 hours of retainer clearance, dispatch a curated Welcome Experience. This transforms a clinical business transaction into a celebratory partnership:
- The Welcome Email: A warm, enthusiastic email introducing what will happen over the next 14 days, setting expectations, and linking to their client portal.
- The Physical or Digital Welcome Guide (PDF):
- * About the team & contact information
- * Office hours & response time standards (e.g., 24–48 hours for emails; Tuesday through Thursday)
- * How to schedule consultations via Calendly
- * Recommended vendor list & partner discounts
- * Preferred guest photo platform recommendation (such as WedShare for collecting guest perspective captures)
- Optional Welcome Gift: A thoughtful touch—such as a handwritten card, an upscale bridal candle, or a notebook—shipped directly to their home.
Stage 3: The Deep-Dive Client Intake Questionnaire
Build Your Custom Client Intake Questionnaire
Create, reorder, and export branded client onboarding questionnaires with our free Wedding Planner Intake Form Builder.
Do not attempt to plan a wedding based on memory or loose email notes. Send a comprehensive intake questionnaire covering:
- Personal & Family Dynamics:
- * Pronouns, anniversary dates, and preferred names
- * Divorced or estranged parents, seating sensitivities, and delicate family tensions
- * VIP family members requiring special escorting or mobility assistance
- Event Basics & Budget:
- * Locked budget ceiling vs flexible targets
- * Contributing financial parties (e.g., couple self-funding vs parents contributing)
- * Target guest count (invited list vs expected attending)
- Aesthetic Vision & Non-Negotiables:
- * Three words describing their dream wedding vibe (e.g., *"Earthy, Romantic, Wildflower Party"*)
- * Colors they love vs colors they vehemently dislike
- * Top 3 planning priorities (e.g., *"Amazing dance party, gourmet food, high-end photography"*)
- Already Booked Vendors:
- * Names, contracts, and deposits already executed before hiring you.
Stage 4: Tech Stack & Collaborative Workspace Setup
Set up your standardized project tools within 48 hours:
- Create Master Project Folder: Set up a secure Google Drive or Dropbox workspace with organized subfolders:
01_Contracts,02_Budgets,03_Design_Moodboards,04_Floorplans,05_Guest_Lists. - Portal Invitation: Grant client access to their Aisle Planner or HoneyBook portal.
- Bookmark Hub: Provide a single "Start Here" dashboard document containing direct links to all planning sheets.
Stage 5: Establishing Communication Boundaries
Clear boundaries create happy clients and prevent planner burnout. Communicate these rules explicitly in your welcome packet:
The Professional Boundary Standard: > *"We adore working with you and are deeply invested in your wedding day! To ensure thoughtful, organized communication, our client office hours are Tuesday through Thursday, 9:00 AM – 5:00 PM. Emails are returned within 24–48 business hours. We do not conduct business communication via Instagram DM or personal text message so that no critical detail is ever lost."*
- Emergency Protocol: Define what constitutes a true planning emergency (e.g., a venue fire 3 days before the event vs wondering about napkin fold styles 8 months out).
Stage 6: The 90-Minute Kickoff Vision Session
With questionnaires submitted and software configured, schedule the official Kickoff Session (in person or via Zoom):
- Review Budget Allocations (25 min): Align line items with their prioritized categories.
- Review Aesthetic Moodboards (20 min): Clarify floral textures, lighting tones, and tabletop concepts.
- Establish Immediate 30-Day Action Items (20 min): Outline the exact 3 next steps (e.g., *"1. Finalize caterer tasting; 2. Settle floral proposal; 3. Reserve hotel room block"*).
- Q&A & Anxiety Relief (25 min): Give the couple an open floor to voice worries and answer lingering questions.
Client Onboarding Complete Checklist
- [ ] Execute countersigned agreement and verify deposit funds
- [ ] Deliver digital Welcome Guide with office hours and communication boundaries
- [ ] Dispatch comprehensive Client Intake Questionnaire
- [ ] Provision collaborative Google Drive and Aisle Planner/HoneyBook workspaces
- [ ] Request copies of all pre-existing vendor contracts already signed
- [ ] Conduct 90-minute Kickoff Vision Consultation
- [ ] Summarize Kickoff meeting with a written 30-day action item roadmap

Collect Every Photo from Your Celebration
Equip your clients with the best tools for their wedding day. Recommend WedShare for full-resolution, app-free guest photo sharing.
Frequently Asked Questions
How long should the client onboarding process take for a wedding planner?
The initial onboarding process typically takes 7 to 14 days from contract signing to the completion of the kickoff vision consultation. This gives the couple ample time to fill out detailed questionnaires without feeling rushed.
What software should wedding planners use to onboard clients?
Leading platforms include Aisle Planner, HoneyBook, and Dubsado for contract management, invoicing, and client portals, paired with Google Drive or Dropbox for shared asset storage.
How do you handle wedding clients who text you late at night?
Set up automated out-of-office autoreponders on your phone after hours stating your office hours. The next morning, reply via your professional business email rather than text to gently train clients back to the appropriate channel.
What should be included in a wedding planner welcome gift?
Thoughtful welcome gifts include an upscale bridal candle, high-end planning notebook, personalized luggage tags for their honeymoon, or a handwritten congratulatory card.